Secure your Dropbox
Quick guide howto get an encFs encrypted Dropbox subfolder automounted on login in OS X and indexed in Spotlight.
Introduction
First of all, Dropbox is a really useful piece of software. Your data is stored unencrypted inside an online storage and in this case it’s not suitable for secret data. Maybe some of you want to bypass this disadvantage by adding encrypting to a folder inside Dropbox.
Prerequisits
The following instructions expect you using a Mac (tested on 10.7.3. Lion) but may also inspire Unix or Linux users.
Installation
The recommended way to install is installing encFS through homebrew.
Using homebrew
Requirements (such as kernel extension fuse4x) will be installed
automatically.
$ brew install encfs
==> Checking out tag fuse4x_0_9_0
==> /usr/bin/xcodebuild -sdk macosx10.7 -configuration Release -alltargets MACOSX_DEPLOYMENT_TARGET=10.7 SYMROOT=build GCC_PREPROCESSOR_DEFINITIONS='F
==> /bin/mkdir -p build/Release/fuse4x.kext/Support
==> /bin/cp build/Release/load_fuse4x build/Release/fuse4x.kext/Support
==> Caveats
In order for FUSE-based filesystems to work, the fuse4x kernel extension
must be installed by the root user:

  sudo cp -rfX /usr/local/Cellar/fuse4x-kext/0.9.0/Library/Extensions/fuse4x.kext /Library/Extensions
  sudo chmod +s /Library/Extensions/fuse4x.kext/Support/load_fuse4x

If upgrading from a previous version of Fuse4x, the old kernel extension
will need to be unloaded before performing the steps listed above. First,
check that no FUSE-based filesystems are running:

  mount -t fuse4x

Unmount all FUSE filesystems and then unload the kernel extension:

  sudo kextunload -b org.fuse4x.kext.fuse4x

==> Summary
/usr/local/Cellar/fuse4x-kext/0.9.0: 5 files, 272K, built in 10 seconds
==> Installing encfs dependency: fuse4x
==> Cloning https://github.com/fuse4x/fuse.git
Updating /Users/daniel/Library/Caches/Homebrew/fuse4x--git
==> Checking out tag fuse4x_0_9_0
==> autoreconf --force --install
==> ./configure --disable-static --prefix=/usr/local/Cellar/fuse4x/0.9.0
==> make install
/usr/local/Cellar/fuse4x/0.9.0: 16 files, 680K, built in 26 seconds
==> Installing encfs
==> Downloading http://encfs.googlecode.com/files/encfs-1.7.4.tgz
...
==> ./configure --prefix=/usr/local/Cellar/encfs/1.7.4 --with-boost=/usr/local
==> make
==> make install
==> Caveats
Make sure to follow the directions given by 'brew info fuse4x-kext'
before trying to use a FUSE-based filesystem.
==> Summary
/usr/local/Cellar/encfs/1.7.4: 69 files, 1,5M, built in 16 seconds
You should follow these instructions given above:
$ sudo cp -rfX /usr/local/Cellar/fuse4x-kext/0.9.0/Library/Extensions/fuse4x.kext /Library/Extensions
$ sudo chmod +s /Library/Extensions/fuse4x.kext/Support/load_fuse4x
Precompiled installer package
If you don’t want to install homebrew you may be interested into this package which includes pre compiled libraries and binaries and includes Macfusion with encFS-Plugin which can be installed optionally. They allow you to mount the encrypted folder without Terminal knowledge through Macfusion.
Add encrypted Folder
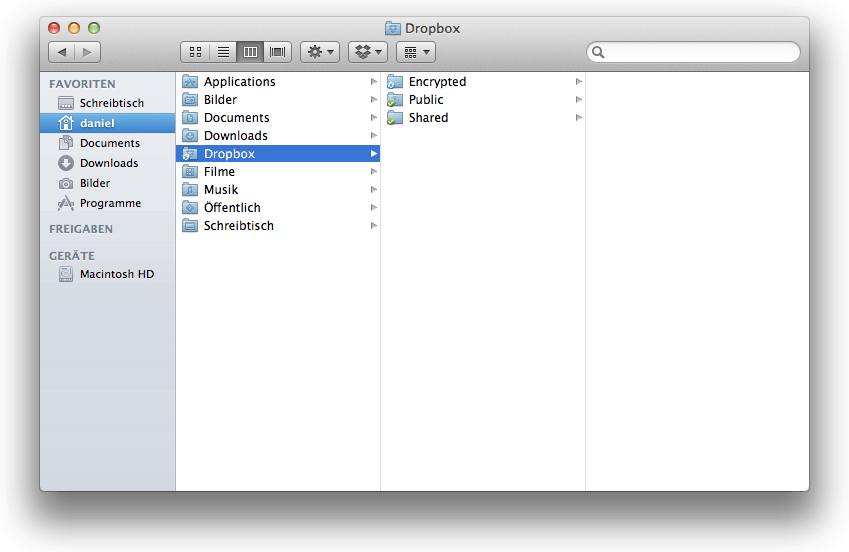
Create a new folder inside your Dropbox folder. I call it Encrypted.
Open a Terminal, execute following commands:
$ mkdir /Volumes/Dropbox
$ encfs ~/Dropbox/Encrypted /Volumes/Dropbox
Creating new encrypted volume.
Please choose from one of the following options:
 enter "x" for expert configuration mode,
 enter "p" for pre-configured paranoia mode,
 anything else, or an empty line will select standard mode.
?>
You’ll be asked some questions about encryption, use default if you’re not sure what to use:
Standard configuration selected.

Configuration finished.  The filesystem to be created has
the following properties:
Filesystem cipher: "ssl/aes", version 3:0:2
Filename encoding: "nameio/block", version 3:0:1
Key Size: 192 bits
Block Size: 1024 bytes
Each file contains 8 byte header with unique IV data.
Filenames encoded using IV chaining mode.
File holes passed through to ciphertext.

Now you will need to enter a password for your filesystem.
You will need to remember this password, as there is absolutely
no recovery mechanism.  However, the password can be changed
later using encfsctl.

New Encfs Password:
Now your encrypted filesystem should be mounted to /Volumes/Dropbox folder
and appear as a new harddisk on your Desktop. Files stored onto this drive will
be encrypted on the fly through encfs and put into ~/Dropbox/Encrypted
folder, where Dropbox will upload them to its cloud.
Using Mac’s Keychain
If you’re on a Mac you can put mount password into your Keychain and use
following script to mount your encfs encrypted folder.
Note
Some of your security efforts get lost if your encrypted FS is mounted through Keychain and and/or automatically!
Open your Keychain
Click CMD+N to add a new keychain entry.
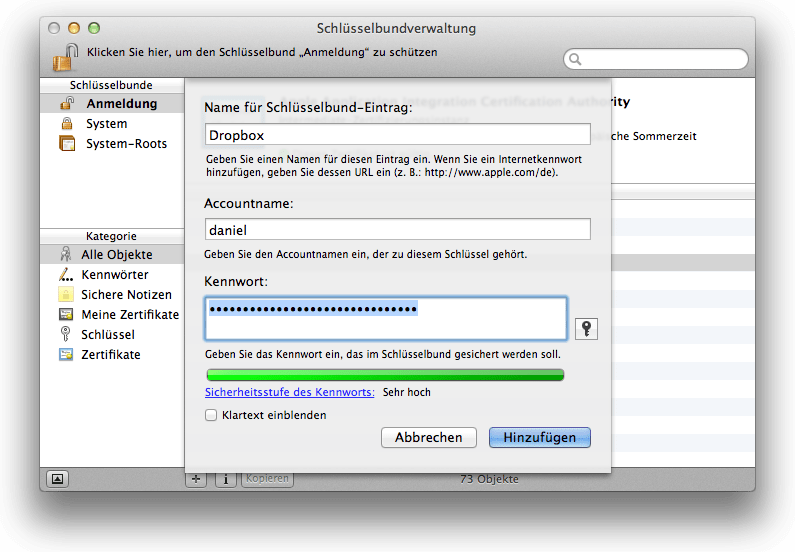
Enter Information, name should be Dropbox, click Add.
Modify mount command to read password from keychain
$ encfs ~/Dropbox/Encrypted /Volumes/Dropbox \
    --extpass="security 2>&1 >/dev/null find-generic-password -gl 'Dropbox' |grep password|cut -d \\\" -f 2"
Automount at Login
This gives you the most comfortable way to use an encrypted Dropbox! Let’s use a shell script and use it as login item.
Open your favourite text editor and copy & paste following code (if you want to use Spotlight indexing use the code from Spotlight section):
#!/bin/bash
# Secure EncFS Dropbox mounter by Daniel Widerin <[email protected]>

SOURCE=~/Dropbox/Encrypted
TARGET=/Volumes/Dropbox
VOLUME_TITLE=Dropbox
KEYCHAIN_PASSWORD=Dropbox
ENCFS=/usr/local/bin/encfs

mount | grep $TARGET >/dev/null
[[ "$?" -eq "0" ]] && /usr/sbin/diskutil unmount $TARGET

if [ ! -d $TARGET ]; then
 echo "Create new mountpoint $TARGET"
 mkdir $TARGET
 chmod 0700 $TARGET
fi

$ENCFS $SOURCE $TARGET --extpass="security 2>&1 >/dev/null find-generic-password -gl '$KEYCHAIN_PASSWORD' |grep password|cut -d \\\" -f 2" -ovolname=$VOLUME_TITLE
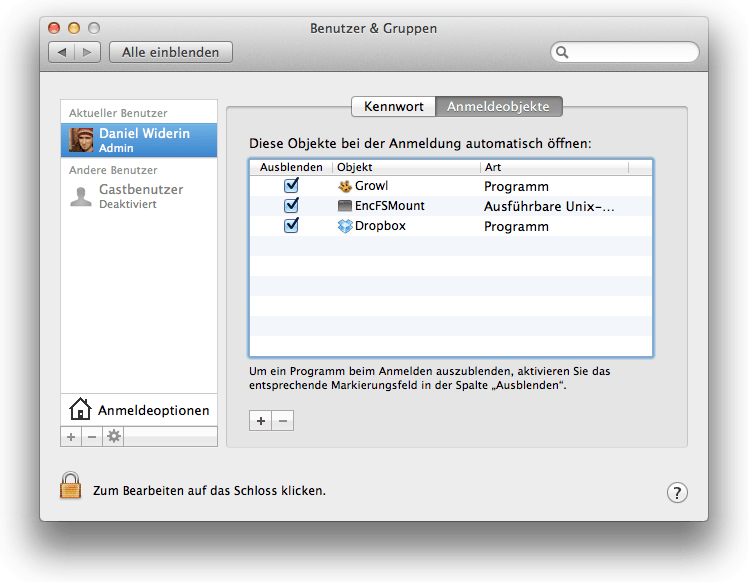
Save file (for example use
~/EncFSMountas filename) and make it executeable by typingchmod +x ~/EncFSMountin Terminal.Go to System Preferences -> Users and Groups -> Startup Items and add your just created Unix script.
Restart or logout/-in again and enjoy your mounted encrypted Dropbox

Finally your folder Encrypted inside Dropbox should fill up like shown below by adding files and/or directories to your mounted Dropbox
/Volumes/Dropbox.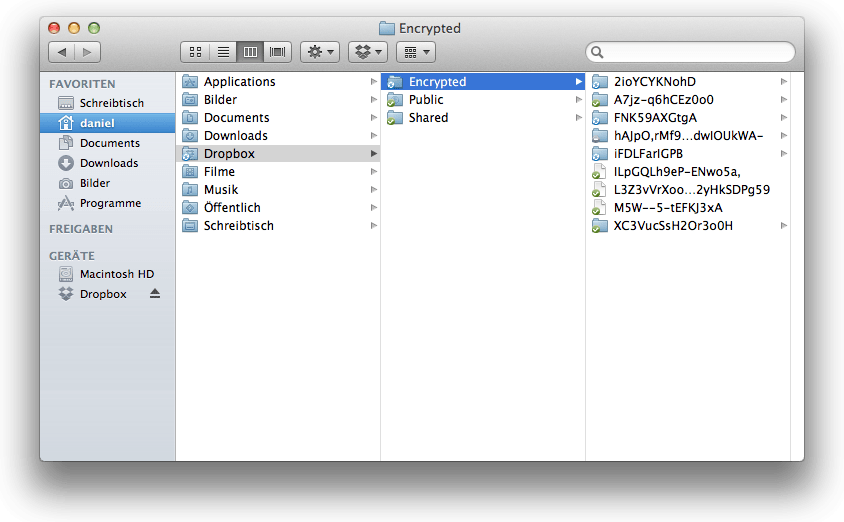
Troubleshooting
If you get an error, check encfs is already running by typing
ps x | grep encfs in Terminal and kill the process if necessary.
$ ps x | grep encfs
 1327   ??  Ss     0:00.00 /usr/local/bin/encfs /.../Dropbox/Encrypted /Volumes/Dropbox --extpass=security 2>&1 >/dev/null find-generic-password -gl 'Dropbox' |grep password|cut -d \" -f 2 -ovolname=Dropbox
As you see, an encfs process is running with PID: 1327, you can kill it by
typing:
$ kill -9 1327
Spotlight
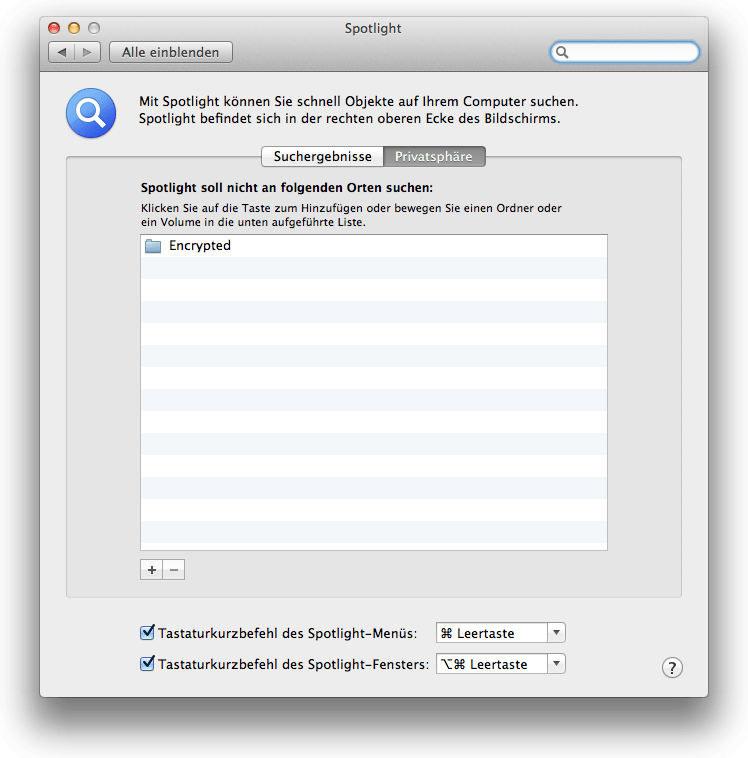
Unfortunately Spotlight indexes your encrypted Dropbox folder but not your mounted encfs-Filesystem. So first, exclude the encrypted files from Spotlight, you’ll find Spotlight configuration pane in Control Panel.
Back in Terminal and trying to add your encfs mountpoint to Spotlight using mdutil you’ll get following error:
$ mdutil /Volumes/Dropbox -i on
/Volumes/Dropbox:
Error: unable to perform operation.  Try as root.  (-400)
    No index.
Ok, so let’s try as root:
$ sudo -s
root:~ # mdutil /Volumes/Dropbox -i on
Error: could not resolve path '/Volumes/Dropbox'.
It seems, root has no access to your mounted encfs file system which is more
safe. But if you want to add it to Spotlight you have to append a FUSE Mount
Option -o allow_root and -o local to your mount command (in your script
if you’re using it).
Note
As described in macfuse FAQ here http://code.google.com/p/macfuse/wiki/OPTIONS adding the -o local option may be dangerous. Mac OS does add a .Trashes and a .Spotlight folder on this mountpoint which is also encoded and uploaded to Dropbox. So you’ll get more comfort while increasing your traffic! Be sure you know what you’re doing before you continue…
UPDATE: I’ve discovered some new mount options in macfuse documentation
and added -ohard_remove -oauto_xattr -o nolocalcaches to mount command.
Please read macfuse documentation if you want to know more details.
So this is our new mount script:
#!/bin/bash
# Secure EncFS Dropbox mounter by Daniel Widerin

SOURCE=~/Dropbox/Encrypted
TARGET=/Volumes/Dropbox
VOLUME_TITLE=Dropbox
KEYCHAIN_PASSWORD=Dropbox
ENCFS=/usr/local/bin/encfs

mount | grep $TARGET >/dev/null
[[ "$?" -eq "0" ]] && /usr/sbin/diskutil unmount $TARGET

if [ ! -d $TARGET ]; then
 echo "Create new mountpoint $TARGET"
 mkdir $TARGET
 chmod 0700 $TARGET
fi

$ENCFS $SOURCE $TARGET --extpass="security 2>&1 >/dev/null find-generic-password -gl '$KEYCHAIN_PASSWORD' |grep password|cut -d \\\" -f 2" -ovolname=$VOLUME_TITLE -oallow_root -olocal -ohard_remove -oauto_xattr -onolocalcaches
After adding these FUSE Mount Options you’ll be able to add your new encfs mounted Dropbox to Spotlight, be typing this into your Terminal (Note: you should be root):
root:/ # mdutil -s /Volumes/Dropbox
/Volumes/Dropbox:
    Indexing disabled.
root:/ # mdutil -i on /Volumes/Dropbox
/Volumes/Dropbox:
    Indexing enabled.