Weblate is built on Django and you can use a lot of authentication plugins. After my contribution to django-allauth and the backporting work of glensc and omab to django-social-auth it’s very easy to integrate [GitLab]’s authentication provider with Weblate
GitLab
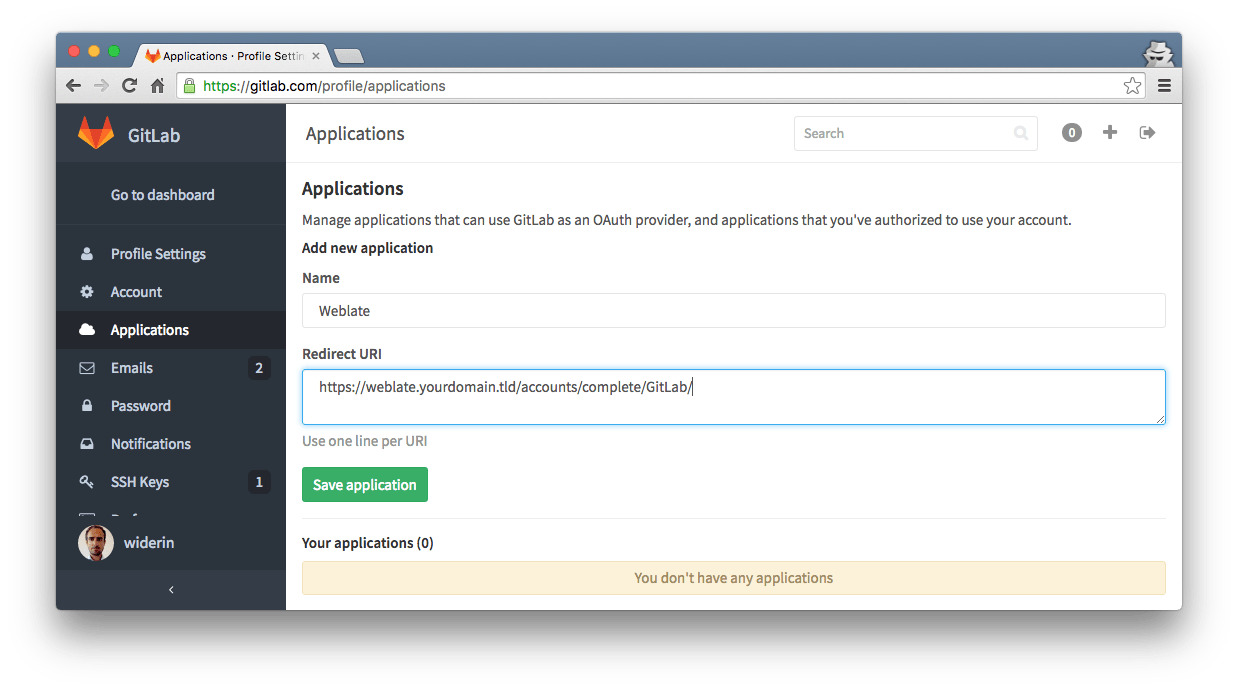
All you have to do on GitLab is configuration through webinterface. Go to https://gitlab.com/profile/applications and register a new application.
- Name: Weblate
- Redirect URI: `https://weblate.yourdomain.tld/accounts/complete/GitLab/``
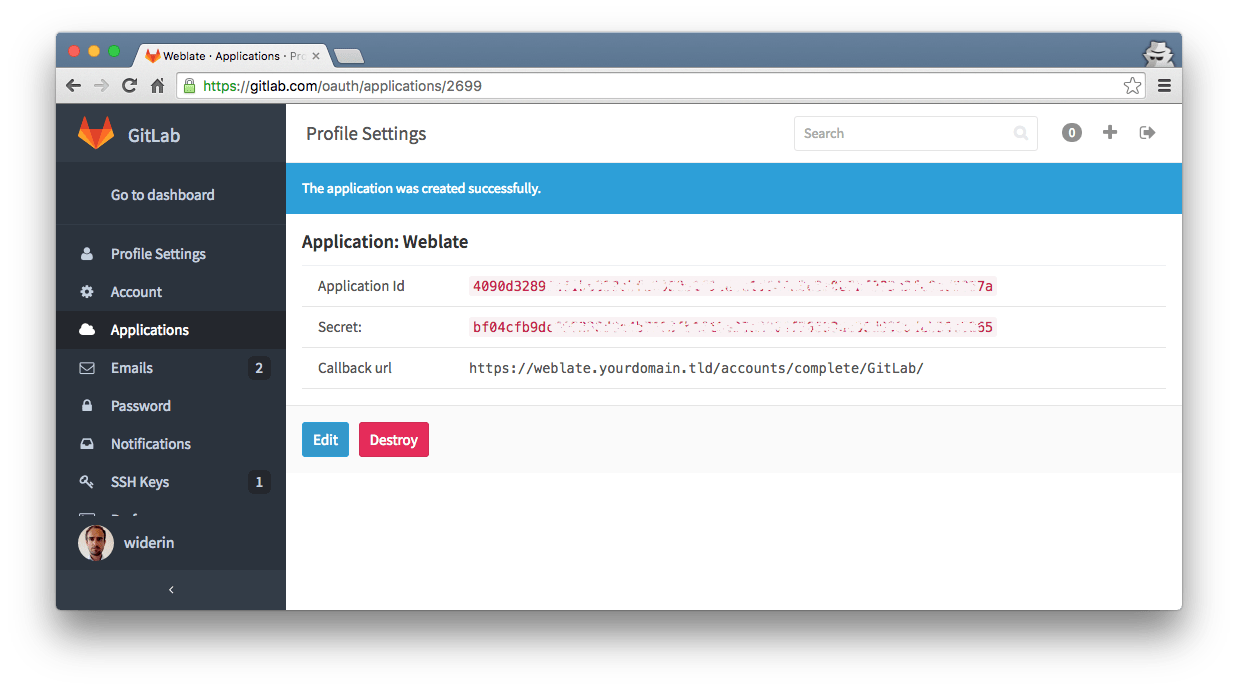
After registering your new application you’ll get your Application Key and Secret. You’ll need this later for configuration
Weblate
If you have your Weblate installation up and
running and followed installation instruction you should have a custom
weblate/settings.py file somewhere. It’s not best-practice to put a
lot of Python code in there, but since there’s
already Python code in
weblate/settings_example.py
I’ve appended a short code fragment as shown below:
class GitLabOAuth2(BaseOAuth2):
    name = 'GitLab'
    ID_KEY = 'id'
    GITLAB_URL = 'https://gitlab.com'  # your gitlab url or gitlab.com
    AUTHORIZATION_URL = '{0}/oauth/authorize'.format(GITLAB_URL)
    ACCESS_TOKEN_URL = '{0}/oauth/token'.format(GITLAB_URL)
    REDIRECT_STATE = False
    ACCESS_TOKEN_METHOD = 'POST'
    EXTRA_DATA = [
        ('refresh_token', 'refresh_token', True),
    ]

    def get_user_details(self, response):
        name = response.get('name') or ''
        fullname, first_name, last_name = self.get_user_names(name)
        return {'username': name,
                'email': response.get('email'),
                'fullname': fullname,
                'first_name': first_name,
                'last_name': last_name}

    def user_data(self, access_token, *args, **kwargs):
        return self.get_json('{0}/api/v3/user'.format(self.GITLAB_URL),
                             params={'access_token': access_token})

# Application id and secret
SOCIAL_AUTH_GITLAB_KEY = 'your-application-id-from-above'
SOCIAL_AUTH_GITLAB_SECRET = 'your-application-secret-from-above'
You have to tell Django’s authentication providers about this new authentication backend as shown below:
# Authentication configuration
AUTHENTICATION_BACKENDS = (
    'weblate.accounts.auth.EmailAuth',
    # 'social.backends.google.GoogleOAuth2',
    'weblate.settings.GitLabOAuth2',
    # 'social.backends.bitbucket.BitbucketOAuth',
    # 'social.backends.suse.OpenSUSEOpenId',
    # 'social.backends.ubuntu.UbuntuOpenId',
    # 'social.backends.fedora.FedoraOpenId',
    # 'social.backends.facebook.FacebookOAuth2',
    'weblate.accounts.auth.WeblateUserBackend',
    # 'django_auth_ldap.backend.LDAPBackend',
)
Be sure you checked following settings in weblate/settings.py:
# Enable user registration to allow OAuth registrations, disable if
# you just want existing users to allow OAuth logins.
REGISTRATION_OPEN = True
Furthermore it’s important to run your weblate installation on https
and you’ve configured Django to be
aware about this. Be sure you’ve added REDIRECT_IS_HTTPS to
weblate/settings.py:
ENABLE_HTTPS = True
REDIRECT_IS_HTTPS = ENABLE_HTTPS  # important for python-social-auth
Test
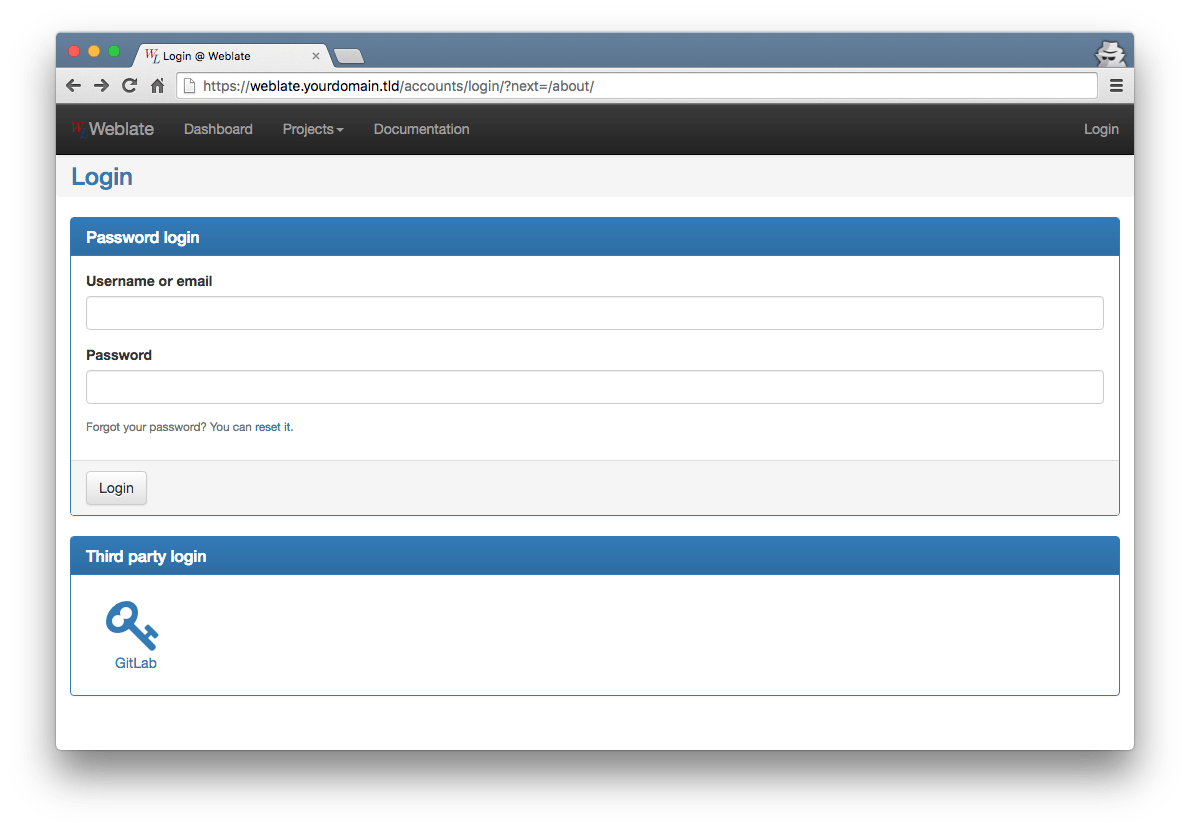
Now open your browser and access your Weblate instance. You should see following Third party login section on login screen.